The Allure of Chocolate Covered Strawberries: Effortless Elegance
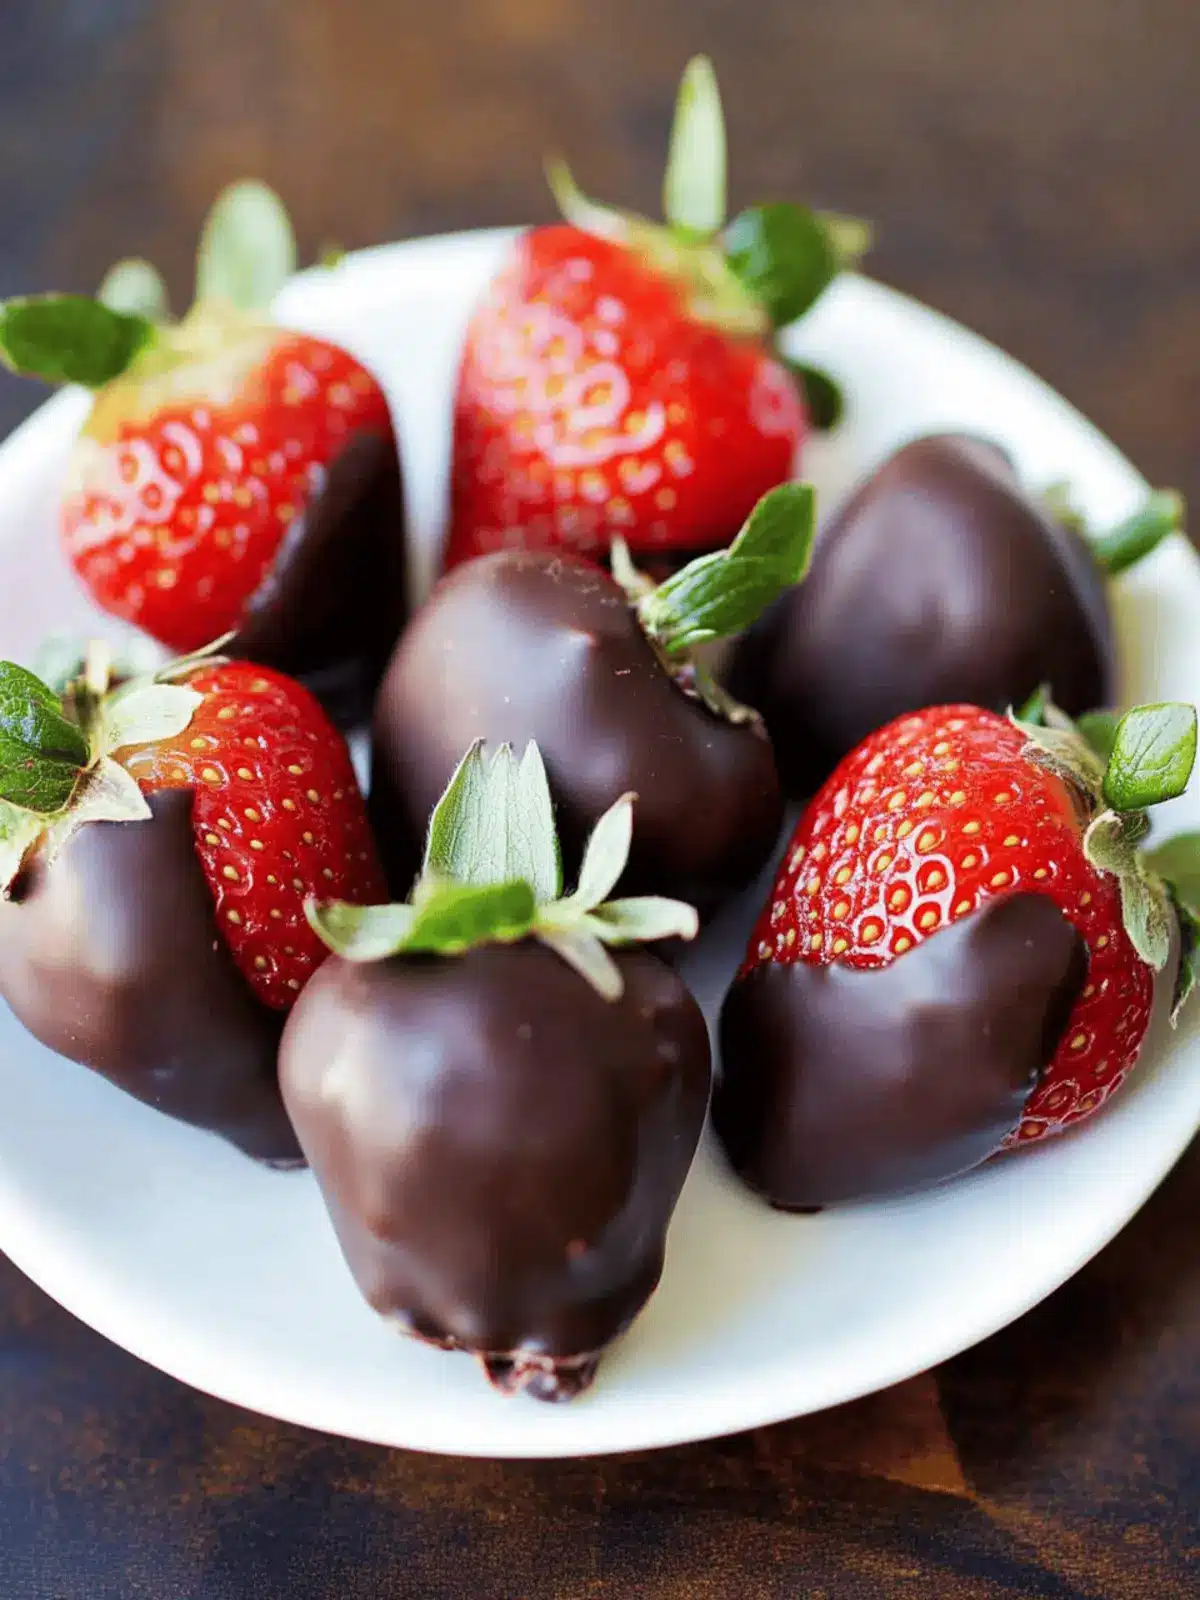
There’s something undeniably magical about
chocolate covered strawberries. They exude an air of sophisticated indulgence, making them a perennial favorite for everything from romantic gestures to elegant party spreads. Yet, despite their impressive appearance, these delightful treats are surprisingly simple to create, earning their reputation as the ultimate "emergency 3-ingredient dessert." Forget slaving away for hours on complicated concoctions; a batch of these beauties can be ready in as little as 20 minutes, proving that gourmet taste doesn't have to demand extensive culinary skills or time.
The appeal of homemade chocolate covered strawberries lies in their perfect blend of fresh, juicy fruit and rich, decadent chocolate. They're bite-sized, making them ideal for gatherings where guests might be too full for a large slice of cake, and remarkably, they can be a lighter option too, with estimates often placing them around just 47 calories per piece. This makes them a welcome addition for those mindful of their diet, offering a guilt-free indulgence that’s both gluten-free and crowd-pleasing. Whether you’re celebrating a special occasion, hosting a dinner party, or simply craving a sweet escape, these vibrant, chocolate-dipped delights are an instant win.
The Essential Trio: Quality Ingredients Make the Difference
While the concept of chocolate covered strawberries is straightforward, the secret to truly exceptional results lies in the quality of your three core ingredients: fresh strawberries, premium chocolate, and a touch of neutral oil. This seemingly simple combination holds the key to flavor, texture, and visual appeal.
Choosing Your Strawberries Wisely
The foundation of any great chocolate covered strawberry is, naturally, the strawberry itself. Don't underestimate the impact of selecting the right fruit. Look for:
- Firmness: Choose strawberries that are firm to the touch, indicating freshness and preventing them from becoming mushy when dipped.
- Ripe Redness: Opt for strawberries that are fully ripe, displaying a vibrant red color all the way up to the stem. This ensures maximum sweetness and flavor.
- Bruise-Free: Avoid any fruit with bruises or soft spots, as these will detract from both the appearance and the enjoyment.
Beyond selection, preparation is paramount. Before dipping, ensure your strawberries are *bone dry* and at *room temperature*. Wash them gently and then thoroughly pat each one dry with a paper towel. Any residual moisture will cause the chocolate to seize or refuse to adhere properly, resulting in a less-than-perfect coating. Allowing them to come to room temperature for 15-30 minutes before dipping also helps prevent temperature shock, which can lead to chocolate cracking.
The Chocolate Factor: Invest in Quality
This is perhaps the most crucial element. Because chocolate covered strawberries rely on so few ingredients, the flavor of your chocolate will truly shine through. This is where many home cooks might cut corners, but resist the urge!
- Baking Chocolate vs. Chocolate Chips: High-quality baking chocolate (or high-quality baking chocolate chips) is highly recommended. These are formulated to melt smoothly and provide a superior, glossy finish.
- Avoid Cheap Chips: Inexpensive chocolate chips often contain stabilizers that prevent them from melting into a perfectly smooth, fluid consistency. They can result in a grainy texture and a dull finish, and the flavor tends to be more processed.
- Flavor Profile: Experiment with different types of chocolate – dark, milk, or white – to find your favorite. Dark chocolate offers a sophisticated bitterness that beautifully complements the strawberry's sweetness, while milk chocolate provides a creamier, milder taste. For a unique twist, try drizzling with contrasting chocolate colors for an artistic finish.
Investing in good quality chocolate will elevate your chocolate covered strawberries from good to absolutely extraordinary.
The Secret Ingredient: A Touch of Oil
Many recipes focus only on two ingredients, but the addition of a tiny amount of neutral oil (like coconut oil or vegetable oil) is a game-changer. This simple step:
- Prevents Cracking: It adds elasticity to the melted chocolate, preventing it from cracking or sliding off the strawberry when you take a bite.
- Enhances Smoothness: It helps achieve an even smoother, glossier coating, making your chocolate covered strawberries look professionally made.
This small addition makes a significant difference in the final texture and eating experience, ensuring your homemade treats are as delightful to eat as they are beautiful to behold.
Mastering the Melt: Achieving Silky Smooth Chocolate
Melting chocolate correctly is a fundamental step to achieving that perfect, even coating. There are two primary methods that yield excellent results, both of which focus on gentle, consistent heat.
The Double Boiler Method
This is often considered the safest and most reliable method for melting chocolate, as it prevents scorching. If you don't have a dedicated double boiler, you can easily create one:
- Fill a saucepan with about an inch or two of water.
- Place a heat-safe glass or metal bowl over the saucepan, ensuring the bottom of the bowl does not touch the water.
- Bring the water to a gentle simmer over medium-low heat.
- Add your chopped quality chocolate (or baking chocolate chips) to the bowl.
- Stir continuously with a rubber spatula as the chocolate melts, until it is completely smooth and glossy. Remove from heat immediately once melted.
The steam from the simmering water gently and evenly heats the bowl, slowly melting the chocolate to a perfect, pourable consistency without the risk of burning. Be extremely careful not to let any water or steam get into the chocolate, as even a tiny drop can cause it to "seize" and become thick and unusable.
The Microwave Method
For a quicker approach, the microwave can be effective, provided you exercise caution:
- Place your chopped quality chocolate (or baking chocolate chips) in a microwave-safe bowl.
- Microwave on medium power (around 50%) in 30-second intervals.
- After each interval, remove the bowl and stir the chocolate thoroughly, even if it doesn't look melted yet. The residual heat will continue to melt the chocolate.
- Continue microwaving and stirring until the chocolate is smooth and fully melted. Stop just before it's completely liquid, and let the residual heat finish the job with a final stir.
The key to microwave melting is patience and frequent stirring to prevent hot spots and burning. Overheated chocolate will become grainy and lose its smooth texture. For a deeper dive into optimal melting techniques and choosing the right chocolate, explore our guide:
Master Easy Chocolate Covered Strawberries: Quality & Melting Guide.
Dipping & Decorating: Beyond the Basics
Once your chocolate is perfectly melted and your strawberries are prepped, the fun part begins: dipping and decorating!
The Dipping Technique
Hold each dry, room-temperature strawberry by its stem (or hull). Dip it into the melted chocolate, tilting the bowl if necessary to ensure a good coating. Gently twist the strawberry as you lift it out, allowing any excess chocolate to drip back into the bowl. This creates a clean, even coating. You can dip the entire strawberry or leave a little bit of red peeking out near the stem for a vibrant contrast.
Creative Toppings and Decorations
While a plain chocolate covered strawberry is a masterpiece in itself, adding toppings can elevate both its visual appeal and flavor profile. Work quickly while the chocolate is still wet!
- Sprinkles: A classic choice, offering a festive burst of color and a subtle crunch.
- Chopped Nuts: Finely chopped pistachios, almonds, walnuts, or pecans add a sophisticated texture and nutty flavor.
- Shredded Coconut: Toasted or untoasted, coconut flakes bring a tropical twist.
- Chocolate Drizzles: Once the first layer of chocolate has set, melt a contrasting color (e.g., white chocolate over dark, or vice versa) and drizzle it artfully using a spoon or a piping bag with a very small opening.
- Crushed Cookies: Think crushed Oreos, graham crackers, or shortbread for a unique flavor and texture.
- Edible Glitter or Dust: For an extra touch of glamour, lightly dust with edible glitter or pearl dust once the chocolate is set.
Place your dipped and decorated strawberries on a parchment-lined baking sheet to allow the chocolate to set. You can accelerate this process by placing them in the refrigerator for about 10-15 minutes.
Crafting a DIY Strawberry Bouquet
For an unforgettable presentation, consider transforming your chocolate covered strawberries into a stunning bouquet. Simply insert wooden skewers or sturdy toothpicks into the top of each strawberry. Arrange them in a vase or decorative container, perhaps nestled amongst some fresh greens or tissue paper, for a truly impressive and edible centerpiece that will wow any recipient.
Storage & Longevity: Keeping Your Treats Fresh
While the temptation to devour every last chocolate covered strawberry immediately is strong, sometimes you need to make them ahead or save a few for later. Understanding proper storage is key to maintaining their quality.
Best Enjoyed Fresh
The undeniable truth is that chocolate covered strawberries are at their absolute best when consumed the same day they are made. The delicate balance of fresh fruit and chocolate is most vibrant within hours of preparation. The moisture from the strawberries will naturally start to release over time, which can compromise the chocolate coating.
Short-Term Refrigeration
If you must store them, they can be kept in the refrigerator, uncovered, for up to one day.
- Uncovered: Storing them uncovered helps prevent condensation from forming, which can make the chocolate "sweat" and appear dull or tacky.
- Baking Sheet: Keep them on the same parchment-lined baking sheet you used for setting.
- Cool Location: If serving them the same day, storing them on your counter away from direct sunlight or heat is often preferred, as the refrigerator can sometimes alter the texture of the chocolate slightly.
Why Freezing is a No-Go
It’s crucial to understand that chocolate covered strawberries should *not* be frozen. As they thaw, the strawberries will release a significant amount of moisture. This moisture will ruin the chocolate coating, causing it to become sticky, messy, and unappetizing. The fruit itself will also likely become mushy and lose its desirable texture. For comprehensive details on extending the life of your delectable creations and advanced storage solutions, refer to:
Chocolate Covered Strawberries: Essential Tips for Quality & Storage.
An Impressive Dessert Awaits
Chocolate covered strawberries truly embody the concept that extraordinary things can arise from simplicity. With just three core ingredients – fresh, perfectly prepped strawberries, high-quality chocolate, and a touch of oil – you can create a dessert that is as visually stunning as it is irresistibly delicious. Whether you're aiming for a quick, impressive treat, a thoughtful gift, or an elegant addition to any celebration, these easy-to-make, bite-sized delights are guaranteed to impress. Embrace the ease, savor the flavor, and delight in the knowledge that you've crafted something truly special with minimal effort.